


AsterNOS Installation
此内容尚不支持你的语言。
AsterNOS supports both auto-discovery installations and manual installations.
The installation flowchart is as follows:
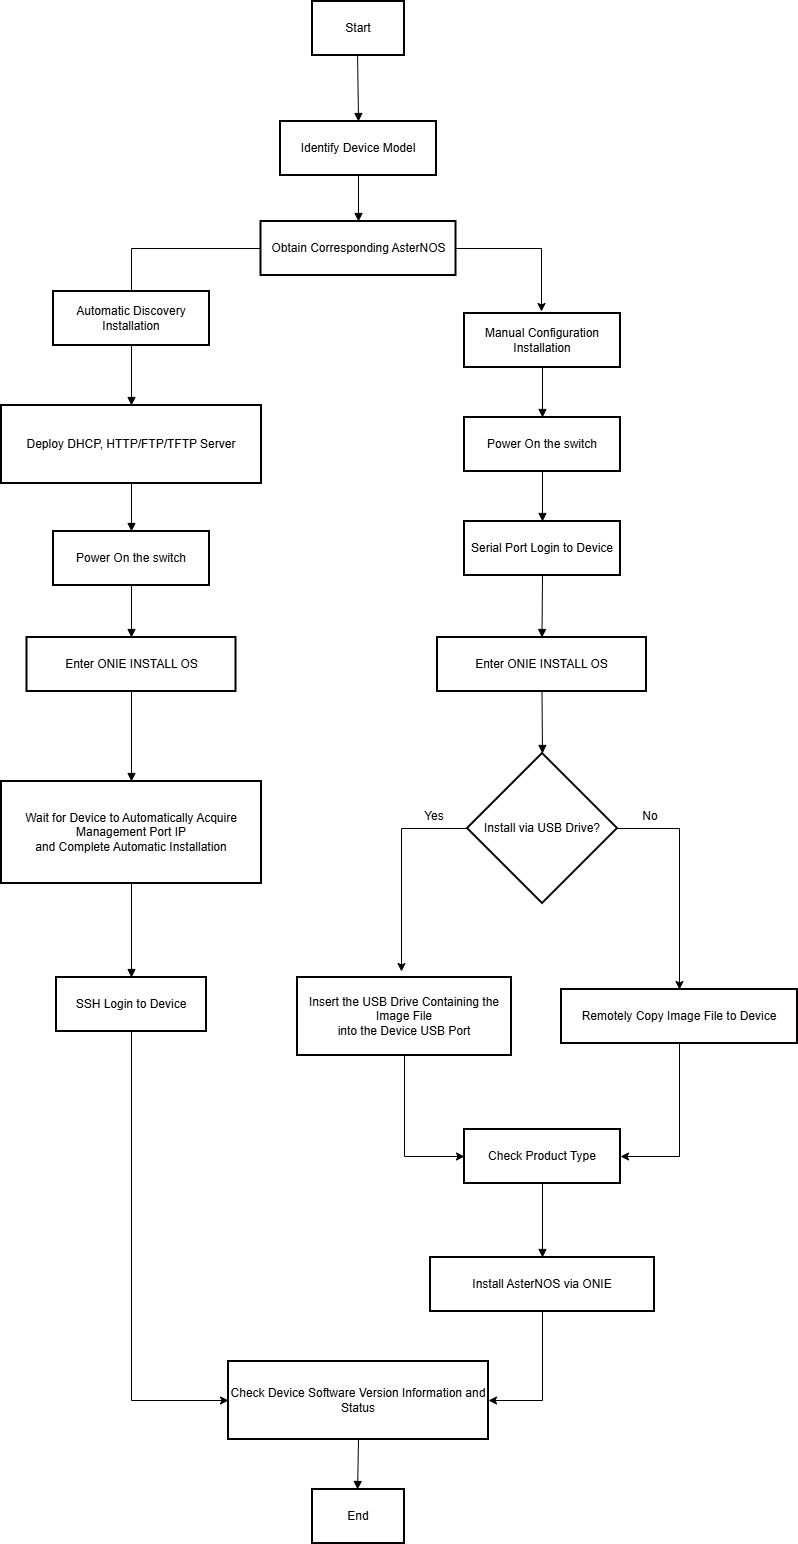
AsterNOS Installation
Section titled “AsterNOS Installation”AsterNOS Auto-Discovery Installation
Section titled “AsterNOS Auto-Discovery Installation”Prepare for installation:
- DHCP Server
- Image Server with AsterNOS image deployed
- Server or laptop with serial debugging tool
- Switch to be installed
The switch is factory pre-installed with ONIE. It can automatically obtain the network management port IP address via DHCP, as well as discover and obtain the AsterNOS image on HTTP/FTP/TFTP servers that match the corresponding field.
After the DHCP and image server are deployed, connect the management port and boot up the switch. Access the switch through the serial port and then select ONIE: Install OS in ONIE GRUB Menu to enter the auto-configuration installation.
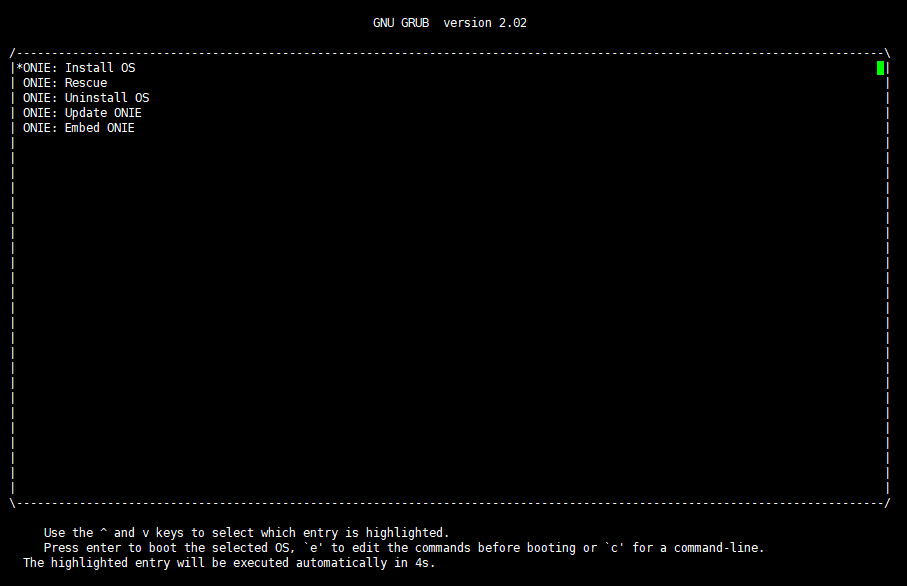
Wait for a while for the AsterNOS system to finish auto-installation, next will be the AsterNOS login and check, please skip to section Login.
AsterNOS Manual Installation
Section titled “AsterNOS Manual Installation”Manual installation is divided into installation via remote copy and installation via USB flash drive.
Installation via Remote Copy
Section titled “Installation via Remote Copy”Prepare for installation:
- AsterNOS image
- Server or laptop with serial debugging tool
- Switch to be installed
Steps:
- Connect the server or laptop to the serial port of the switch and use the serial debugging tool to enter the switch. Power up the switch and it will automatically enter ONIE GRUB Menu, then select ONIE: Install OS.
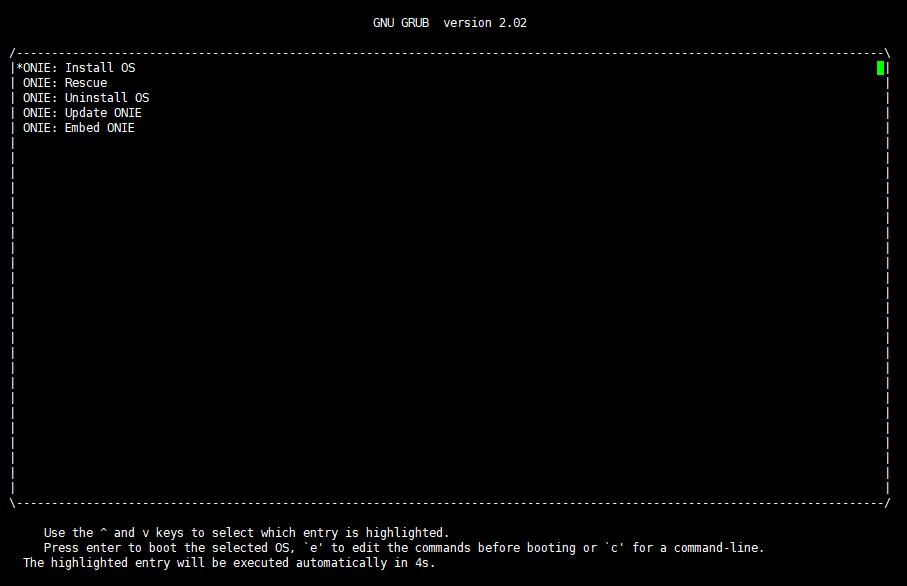
- Type Enter to enter the ONIE command line interface. Stop the DHCP service to avoid the configured management network port IP address being overwritten.
onie-discovery-stopParagraph{indent=“1”} Set the temporary management network port IP address.
ifconfig eth0 <IP address>Paragraph{indent=“1”} Copy the AsterNOS image to the current directory in ONIE. (Please note the distinction between the product model and the applicable image name) Example:
scp jenkins@10.230.0.31:/opt/bcmsai_release/bcmsai_v5.0/AsterNOS_V3.1_R0408P01-BRCM.bin ./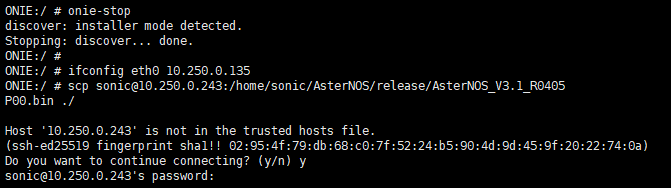
- Run the following command to install the system, at this time ONIE will reboot automatically. Wait for some time for the system to finish installing. Example:
CodeblockTabs{indent=“1”}
onie-nos-install AsterNOS_V3.1_R0408P01-BRCM.bin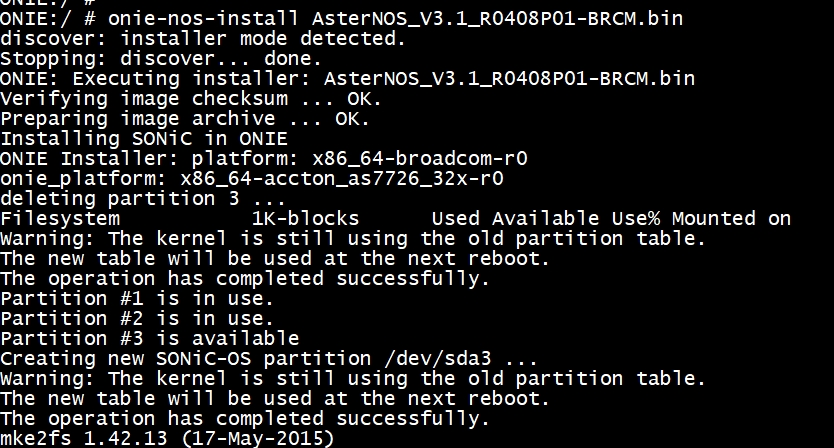
- The system will automatically enter ONIE GRUB Menu and select AsterNOS system by default.
- Enter username: admin, password: **asteros **to log in to the switch.
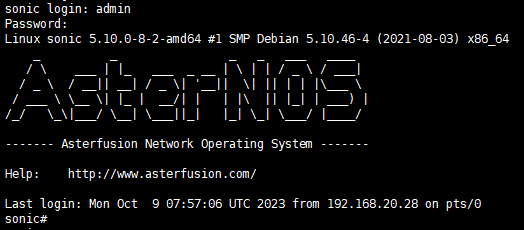
- Next will be the AsterNOS login and check.
Installation via USB Flash Drive
Section titled “Installation via USB Flash Drive”Prepare for installation:
- USB flash drive with AsterNOS image stored on it
- Server or laptop with serial debugging tool
- Switch to be installed
CodeblockTabs{indent=“1”}
onie-discovery-stop- Plug the USB flash drive into the USB port on the switch.
- Check the system’s disk list to determine the USB flash drive letter.
fdisk -lParagraph{indent=“1”}
Mount the USB flash drive files in the /mnt/usb/ path.
mount /dev/sdb1 /mnt/usb/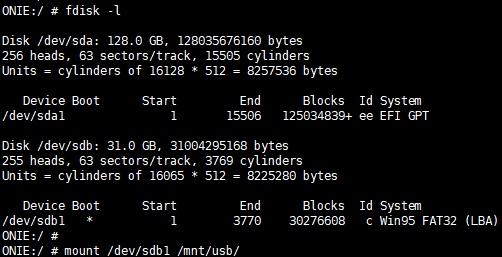
note NOTE:
-
If you can’t determine the disk drive letter by the capacity of the USB flash drive, you can run
fdisk -lto view the disk list before and after plugging in the USB flash drive to determine it. As shown in the figure above, there is an extra disk named/dev/sdbin the disk list, and an extra disk partition named/dev/sdb1in the system. Therefore this disk partition is the USB drive to be mounted. -
Copy the image from the appropriate directory on the USB flash drive to the local directory and install the AsterNOS system. Example: ::: CodeblockTabs{indent=“1”}
cp /mnt/usb/AsterNOS_V3.1_R0406P01-BRCM.bin /onie-nos-install AsterNOS_V3.1_R0406P01-BRCM.bin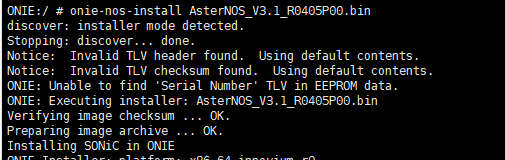
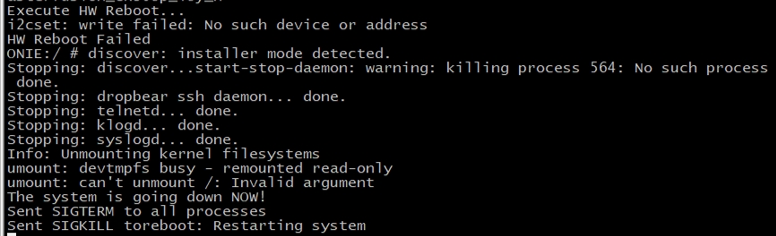
- When the words “reboot:Restarting** system”** appear in the log during the installation process (as shown in the figure below), please pull out the USB flash disk immediately, or else an abnormality may occur.
- When the reboot is complete, the system will automatically enter ONIE GRUB Menu and select AsterNOS system by default.
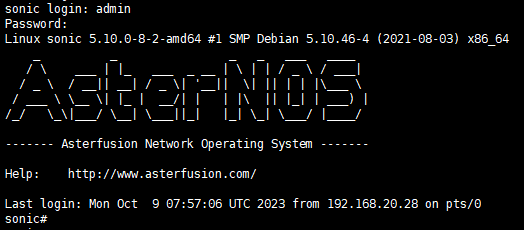
- Enter username: admin, password: **asteros **to log in to the switch.
- Next will be the AsterNOS login and check.
Login to AsterNOS
Section titled “Login to AsterNOS”- Manually set the management port IP address as well as gateway and save the configuration.
sonic# configure terminalsonic(config)# interface mgmt 0sonic(config-mgmt-0)# ip address 10.230.0.44/24 gw 10.230.0.1sonic(config-mgmt-0)# write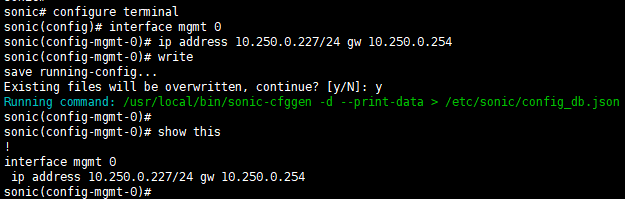
- Log in to the switch via SSH with the default username/password: admin/asteros.
CodeblockTabs{indent=“1”}
ssh admin@<AsterNOS_ip_address>password: asteros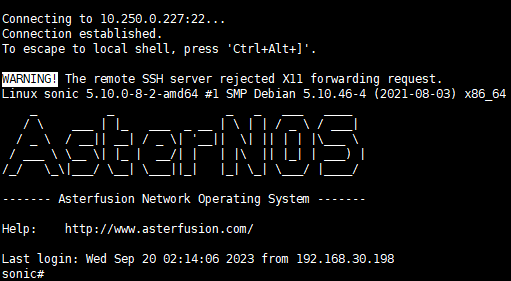
License Activation
Section titled “License Activation”License must be activated for normal operation. Please complete the License activation immediately after the initial system installation.
Obtain Hardware Signature
Section titled “Obtain Hardware Signature”Execute the following command to obtain the hardware signature of the current device:
sonic# show license hardware-signaturesonic# Hardware signature is:90:2D:77:68:E1:D0|AAkiGbTlteXKEpZnqbGx/tPfPgaqK2UKHo30EZoGktI=License Application and Acquisition
Section titled “License Application and Acquisition”- Record the Hardware Signature: Copy the hardware signature output by the above command, e.g.
90:2D:77:68:E1:D0|AAkiGbTlteXKEpZnqbGx/tPfPgaqK2UKHo30EZoGktI=- Contact Support: Provide the hardware signature to the Asterfusion technical support team.
- Obtain File: The technical support team will provide you with the corresponding license file or activation code.
License Activation
Section titled “License Activation”- You can copy the license file to the switch through scp or other methods (if obtained as an activation code, this step can be skipped).

- Log in to the switch through SSH.
CodeblockTabs{indent=“1”}
ssh admin@10.230.0.41- Execute the following command to activate.
sonic# configure terminalsonic(config)# license activate <activation file>/<activation code>- The first activation of the license requires the reload device to take effect.
CodeblockTabs{indent=“1”}
reload
Check License
Section titled “Check License”Check if the current installed license status is active.
show license summary
CodeblockTabs{indent=“1”}
system bash- Execute the command to test all or part of the interfaces.
sudo snake_testParagraph{indent=“1”} For example, test ports 10 through 20 on the front panel.
sudo snake_test 10 20