


Device Connect to Controller
此内容尚不支持你的语言。
Dynamically obtain the controller IP through the DHCP server
Section titled “Dynamically obtain the controller IP through the DHCP server”All Asterfusion devices can act as DHCP clients. Under the factory default configuration, they will actively send DHCP request to obtain the management IP address and the controller IP address.
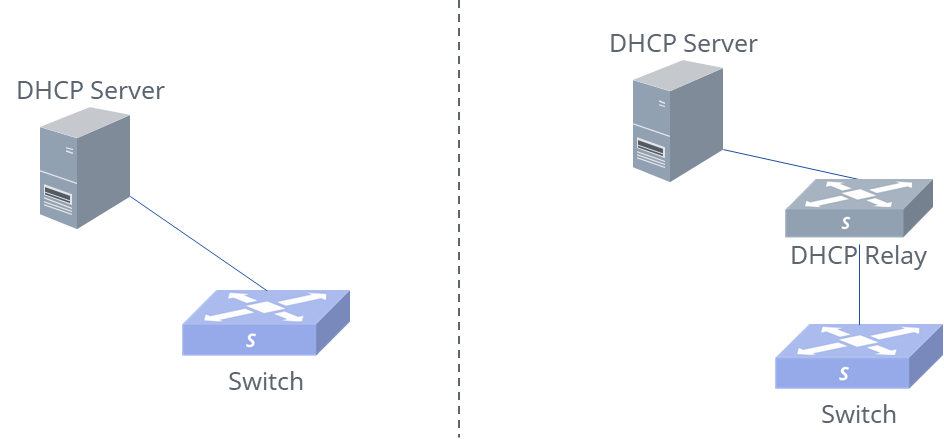
To ensure that devices can obtain the controller IP through DHCP requests, the DHCP server must be capable of responding to the option 138 field. The following is a configuration example for the ISC-DHCP server:
subnet 192.168.1.0 netmask 255.255.255.0 \{ range 192.168.0.100 192.168.0.200; option routers 192.168.0.1; option subnet-mask 255.255.255.0; option capwap-ac-v4 "192.168.0.91";
**\[Description]**
192.168.0.91 is the IP address of the controller.In this case, configure the DHCP server and DHCP Relay (if any) as needed. After the switch is powered on and the physical connections are completed, you can see the switch go online on the \[Devices] page of the controller.
### Connect to Controller by Command Line
If the DHCP server does not exist in the network, or the DHCP server cannot be configured with the controller address, the user can use the command **ucentral-client server <A.B.C.D>** to configure the IP address of the controller on the switch so that the device can connect to the controller.
If the device uses out-of-band management and the management port belongs to VRF mgmt, users need to specify the VRF parameter when designating the management address, for example: **ucentral-client server <A.B.C.D> vrf mgmt**.
The following is a sample configuration for switch:
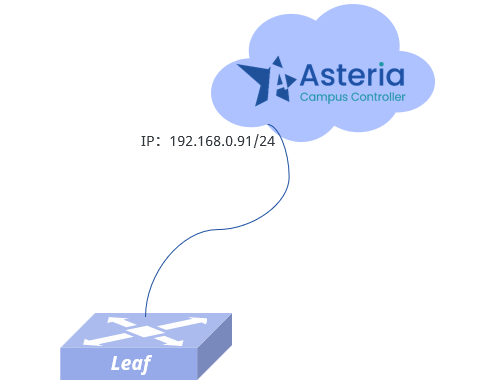
Connect to the controller using the out-of-band management port:BlockQuote sonic# config sonic(config)# ucentral-client enable sonic(config)# ucentral-client server 192.168.0.91 vrf mgmt sonic(config)# interface mgmt 0 sonic(config-if-mgmt) ip address 192.168.0.20/24 192.168.0.91 sonic(config-if-mgmt) vrf mgmt
Use in-band management to connect to the controller. Take the Ethernet49 port as an example:
sonic# configsonic(config)# ucentral-client enablesonic(config)# ucentral-client server 192.168.0.91sonic(config)# interface ethernet 49sonic(config-if-49)# ip address 192.168.0.20/24sonic(config-if-49)# exitsonic(config)# ip route 0.0.0.0/0 192.168.0.91
After the configuration is completed, you can see the switch go online on the **\[Devices]** page of the controller.
## AP
In the factory default configuration, the AP will actively send a DHCP request to request the management IP address and the controller IP address.
### There is Already a
If there is a DHCP server in the network and the configuration has been completed.
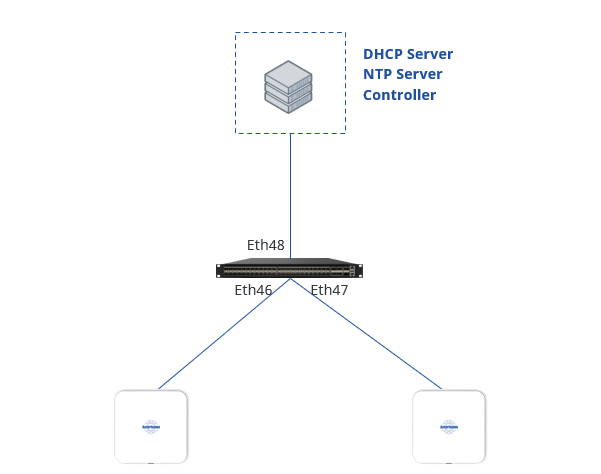
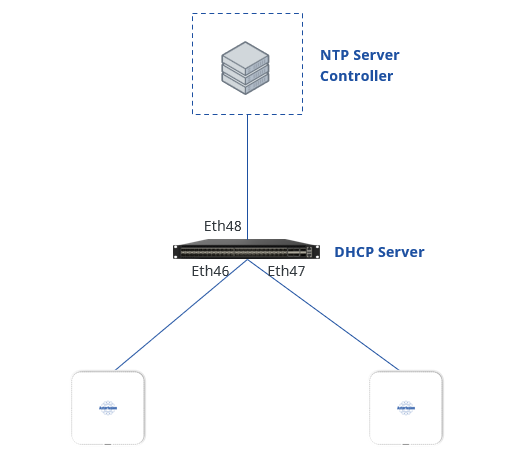
Since the AP is not directly connected to the DHCP server, it is necessary to use the script function or directly enter the switch background to configure through the command line. Configure the VLAN broadcast domain on the switch device directly connected to the AP to broadcast the DHCP request of the AP to the DHCP server.After entering the venue, click **\[Operation]** - **\[Script]** to enter the script editing view. Click the **\[+]** in the upper right corner to create a new script, and select the script type as Sonic-cli.
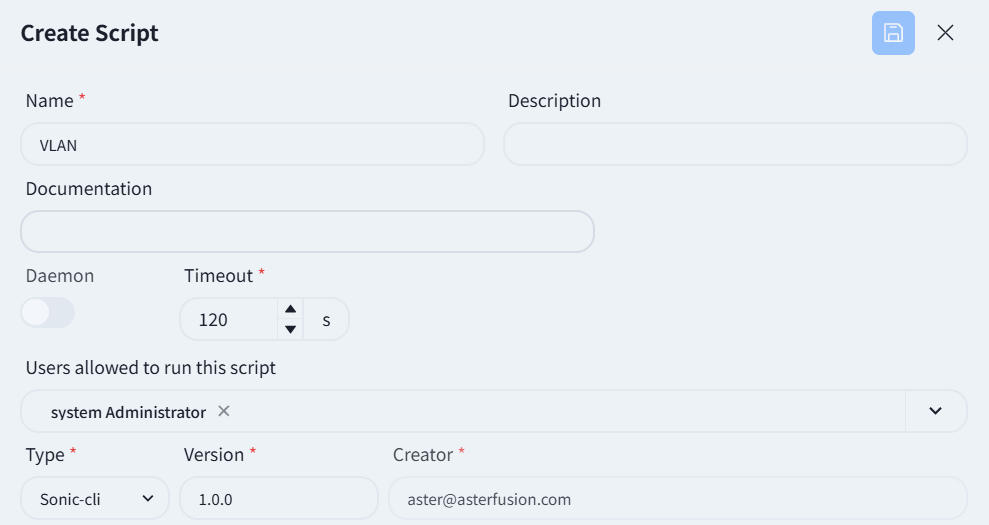
Script content:BlockQuote configure interface ethernet 48 no router-interface exit
vlan 4010 exit
port-group ethernet 46-48 switchport access vlan 4010 exit
interface vlan 4010 ip address dhcp-alloc
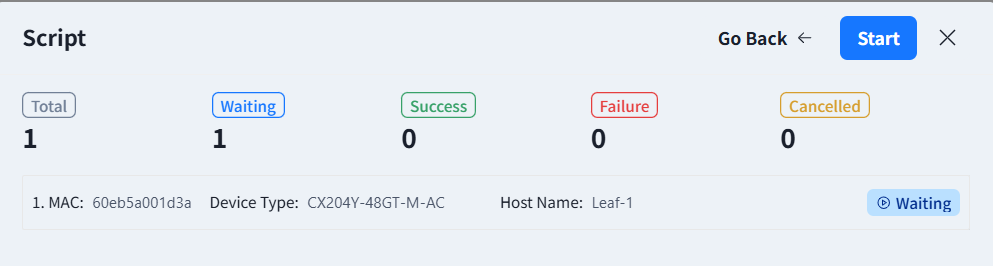
After completing the configuration, click Save. Enter the device view, select the switch connected to the AP, and click the [Actions] - [Script] button in the upper right corner. Select the script edited in the previous step, click [Next] - [Start], and send the script to the switch.
There is no
Section titled “There is no”If there is no DHCP server in the network, you need to configure the switch to act as a DHCP server, assign management IP addresses to the APs, and inform them of the controller’s IP address.
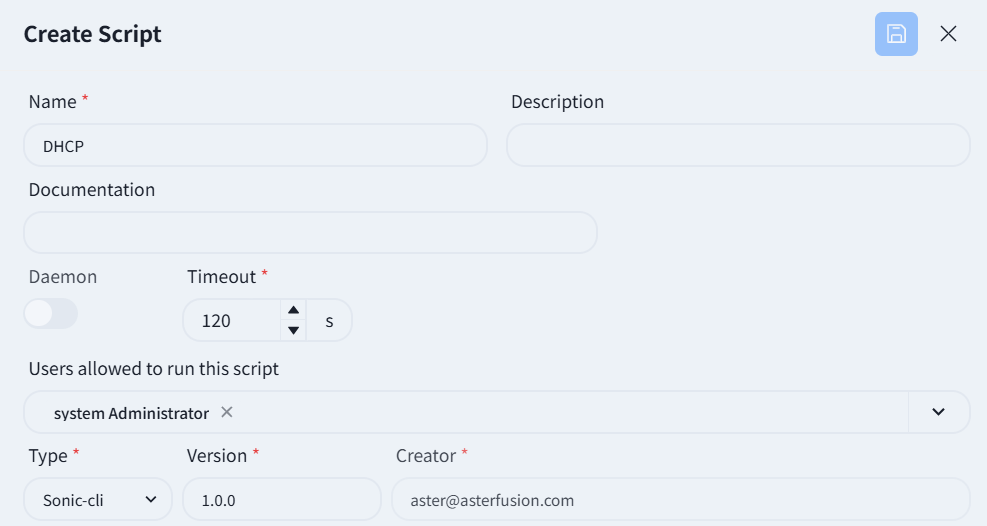
After entering the venue, click [Operation] - [Script] to enter the script editing view. Click the [+] in the upper right corner to create a new script, and select the script type as Sonic-cli.
Script content:
configure interface ethernet 48 no router interface exit
vlan 4020 exit
port-group ethernet 46-48 switchport access vlan 4020 exit
interface vlan 4020 ip address 192.168.0.1/24 dhcp select server exit
dhcp pool ap address pool 192.168.0.100 192.168.0.200 lease-time 3000 6000 network 192.168.0.0 255.255.255.0 routers 192.168.0.1 capwap-ac 192.168.0.91
Note: 192.168.0.91 is the IP address of the controller.
After completing the configuration, click Save. Enter the device view, select the switch connected to the AP, and click the [Actions] - [Script] button in the upper right corner. Select the script edited in the previous step, click [Start], and send the script to the switch.
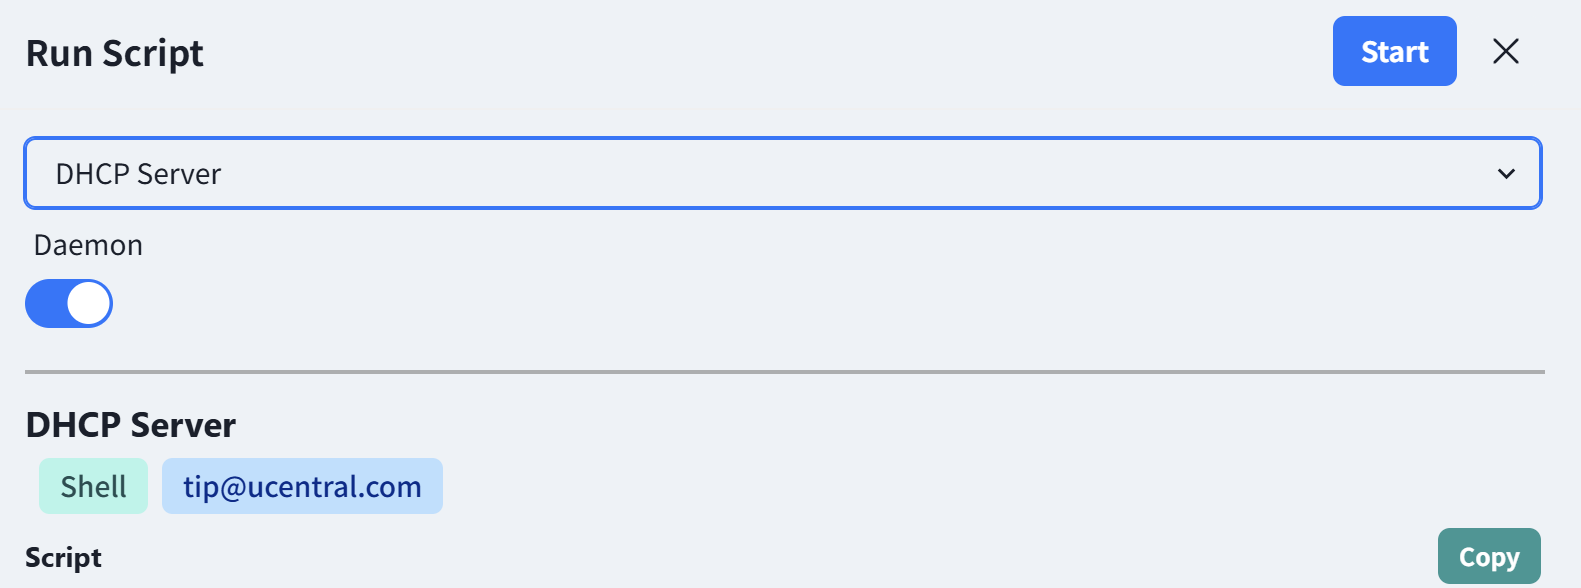
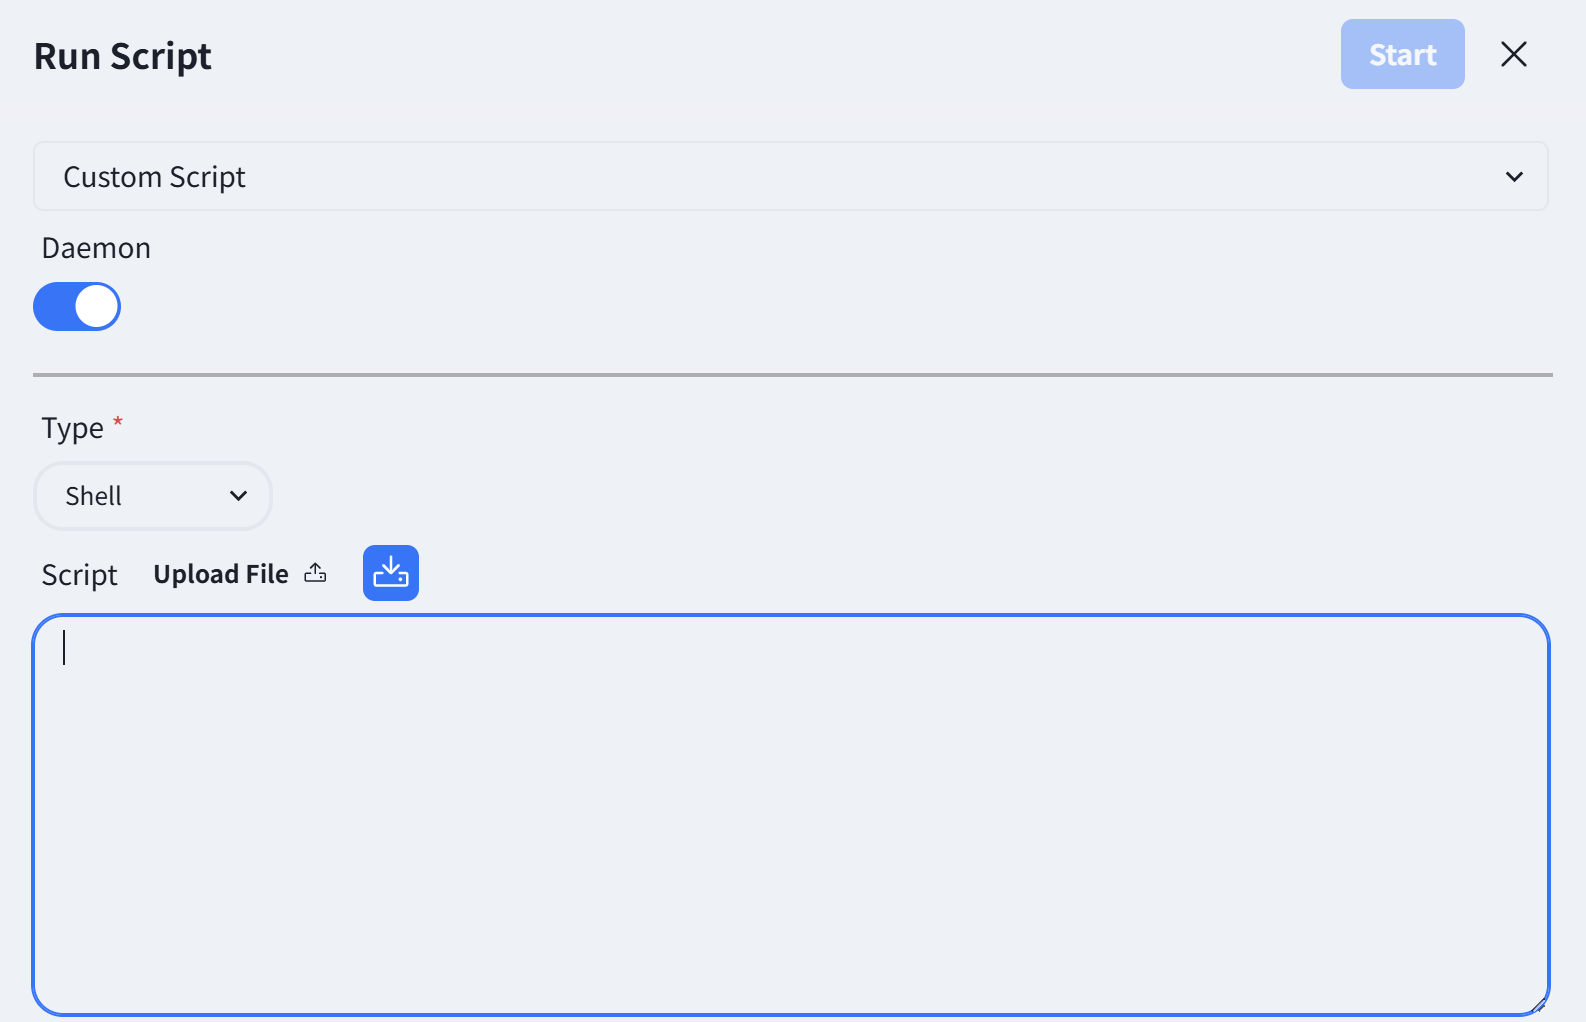
Users can also directly select custom scripts on the script running page shown in the picture, fill in script content or upload script files and run them directly on this page.
OLT Stick
Section titled “OLT Stick”In its factory default configuration, the OLT Stick will actively send a DHCP request to obtain a management IP address and a controller IP address. Its online activation method is the same as that of APs.